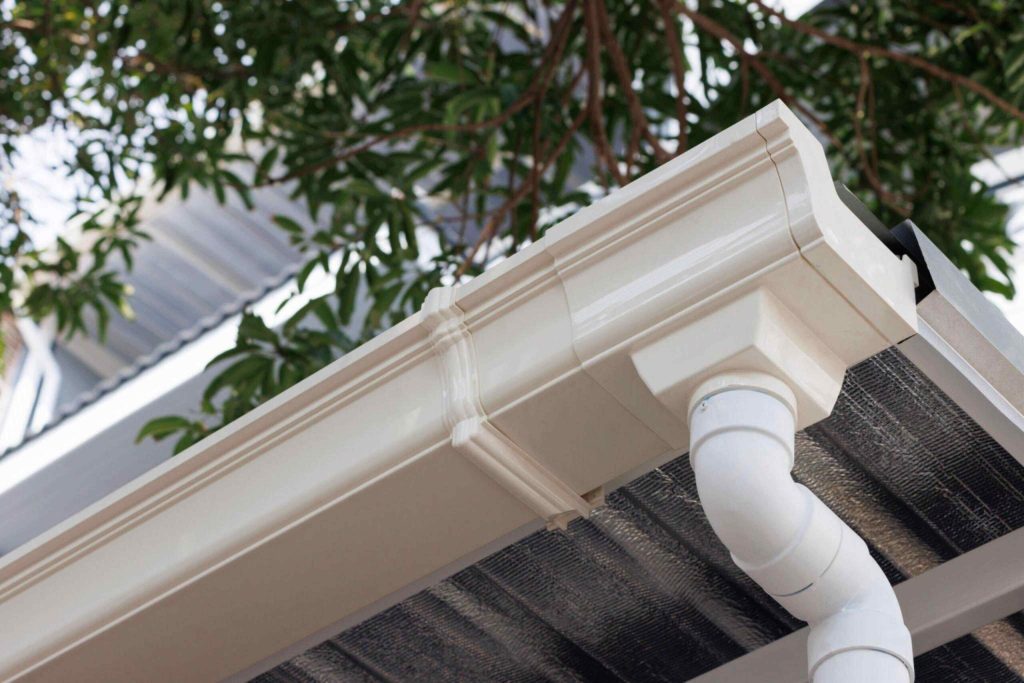
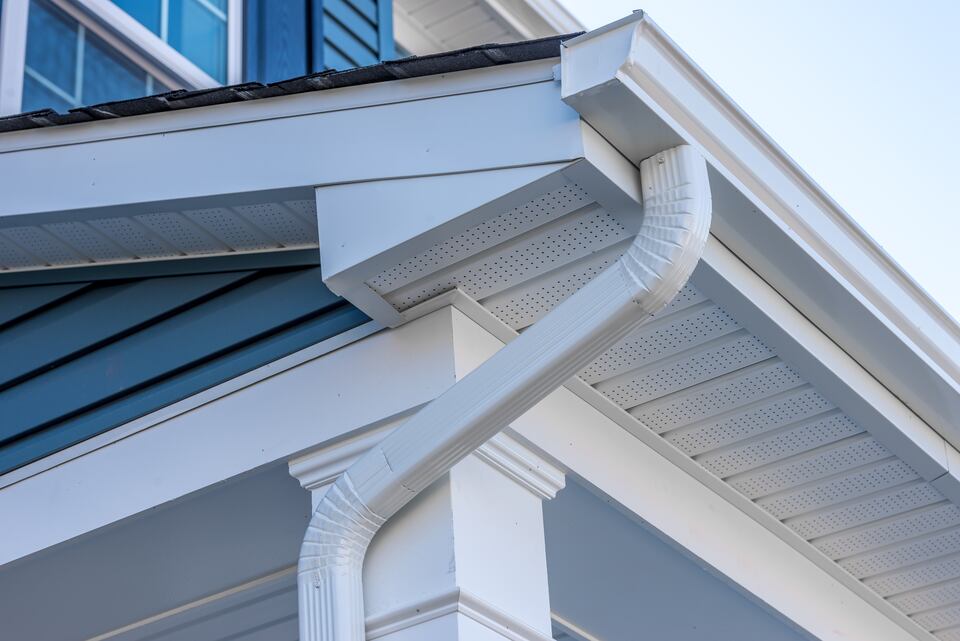
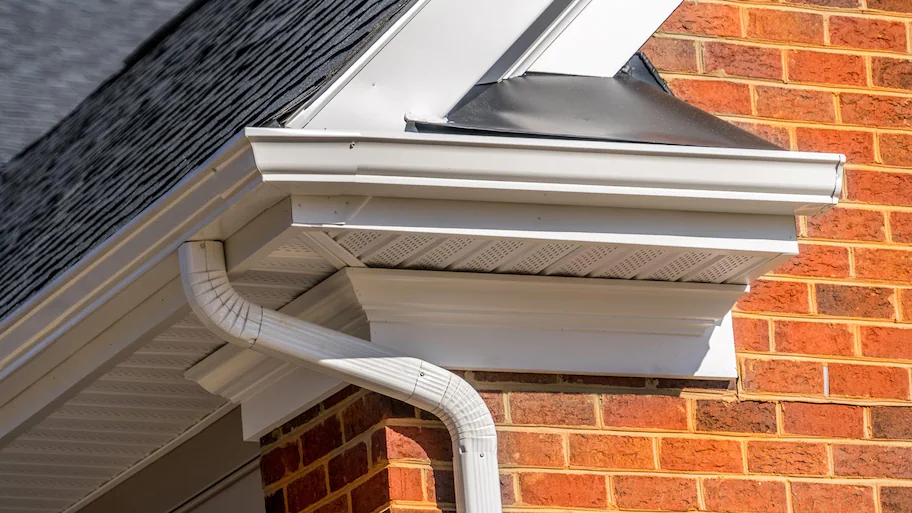
Vinyl gutters are an excellent choice for homeowners looking for a cost-effective, durable, and low-maintenance solution to manage rainwater. Whether you’re replacing old gutters or installing a new system, understanding the process can save you time and money. This guide provides a detailed step-by-step approach to installing vinyl gutters, complete with tips from Atlas Roofing & Restoration, your trusted partner for roofing and restoration services in Northeast Ohio.

Why Choose Vinyl Gutters?
Before diving into the installation process, let’s explore why vinyl gutters are a popular choice:
- Affordability: Vinyl gutters are among the most budget-friendly options on the market.
- Durability: They resist rust, corrosion, and damage from UV rays.
- Lightweight: Their lightweight design makes them easy to handle and install.
- Low Maintenance: Vinyl gutters require minimal upkeep, with occasional cleaning to prevent clogs.
- Customizable: Available in various colors and sizes, they can match your home’s exterior seamlessly.
Tools and Materials Needed
Here’s a list of essential tools and materials for vinyl gutter installation:
Tools:
- Measuring tape
- Chalk line
- Ladder
- Hacksaw or miter saw
- Drill and screws
- Gutter hangers
- Level
- Caulking gun
Materials:
- Vinyl gutter sections
- End caps
- Gutter connectors
- Downspouts
- Elbows
- Splash blocks
- Silicone sealant
At Atlas Roofing & Restoration, we recommend using high-quality tools and materials to ensure a durable and efficient gutter system.
Step-by-Step Guide to Installing Vinyl Gutters
1. Measure and Plan the Layout
Start by measuring the length of your roofline and determining where you want the downspouts to be located. Mark the spots where the gutters will be attached, ensuring a slight slope toward the downspouts for proper water drainage.
- Pro Tip: Use a chalk line to mark the slope. A drop of ¼ inch per 10 feet is ideal.
2. Prepare the Work Area
Set up a sturdy ladder and ensure it’s placed on level ground. Clear any debris from the roof edge and fascia boards. Inspect the fascia for damage, as it must be strong enough to support the gutters.
- Atlas Roofing & Restoration Tip: Replace any damaged fascia or soffits before proceeding with the installation.
3. Install Gutter Hangers
Attach gutter hangers along the chalk line at intervals of about 24 inches. Ensure the hangers are securely fastened to the fascia.
- Pro Tip: Double-check the slope with a level as you install the hangers to maintain proper drainage.
4. Cut and Assemble the Gutters
Cut the vinyl gutter sections to the required lengths using a hacksaw or miter saw. Connect the sections using vinyl connectors, applying silicone sealant to ensure watertight joints.
- Atlas Roofing & Restoration Tip: Test-fit the sections on the ground before attaching them to ensure a seamless fit.
5. Attach the Gutters
Place the assembled gutter sections into the hangers and secure them with screws. Ensure the gutters are tightly secured but not over-tightened, as this can crack the vinyl.
6. Install End Caps and Downspouts
Seal the ends of the gutters with end caps and secure them with screws and sealant. Next, attach the downspouts to the outlets using elbows and screws. Ensure the downspouts are directed away from the foundation.
- Pro Tip: Add splash blocks at the base of the downspouts to prevent soil erosion.
7. Test the System
After completing the installation, pour water into the gutters to check for proper drainage and leaks. Address any issues promptly by re-sealing or adjusting connections.
Benefits of Professional Assistance
While installing vinyl gutters can be a DIY project, enlisting professional help from Atlas Roofing & Restoration ensures:
- Expertise: Our team has years of experience in gutter and roofing installations.
- Safety: We follow strict safety protocols to prevent accidents.
- Efficiency: Professionals complete the job quickly and accurately.
- Warranty: Enjoy peace of mind with our service warranties.
Maintenance Tips for Vinyl Gutters
- Regular Cleaning: Remove leaves and debris to prevent clogs and water overflow.
- Inspect Joints: Check for leaks or cracks at joints and reseal them as needed.
- Check for Sagging: Tighten hangers if the gutters start to sag.
- Seasonal Maintenance: Before winter, ensure the gutters are free of debris to prevent ice dams.
At Atlas Roofing & Restoration, we offer seasonal maintenance services to keep your gutters functioning optimally year-round.
Why Choose Atlas Roofing & Restoration?
As a homeowner in Northeast Ohio, you need a partner you can trust for your roofing and restoration needs. Atlas Roofing & Restoration stands out because:
- We use high-quality materials tailored to your needs.
- Our team is skilled in handling a wide range of roofing and gutter projects.
- We are committed to delivering exceptional customer service.
- We offer affordable pricing without compromising on quality.
From vinyl gutter installations to comprehensive roofing solutions, we’ve got you covered.
Conclusion
Installing vinyl gutters is a manageable task for handy homeowners, but the expertise of professionals like Atlas Roofing & Restoration ensures a long-lasting and efficient system. With the right tools, materials, and guidance, you can protect your home from water damage and enhance its curb appeal.

Whether you’re ready to tackle the project yourself or need professional assistance, Atlas Roofing & Restoration is here to help. Contact us today for expert advice, installation services, and maintenance solutions tailored to your home’s needs.


